

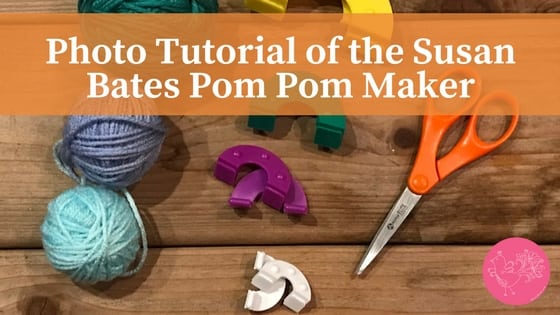
How To Use Susan Bates Pom Pom Maker
Pom poms, pom poms and more pom poms. They are everywhere this fall! Since y'all can find pom poms in so many places I wanted to be certain to show you lot how to make your ain in a variety of dissimilar ways. This photo tutorial will show you lot how to utilize the Susan Bates Pom Pom Maker to kickoff making pom poms today.
*This post contains affiliate links. By clicking one of these links and making a purchase a portion of the purchase will go back to the blog. The price you pay volition non change. Give thanks you lot for your back up of the blog.*
Making Pom Poms Tutorials:
And so far on the weblog we have showed you lot how to make pom poms using your easily in our bundle topper tutorial. You can also find how to use the Clover pom pom makers in the video tutorial on YouTube.
Today allow me show yous how to use the Susan Bates Pom Pom maker to make even more pom poms for your projects.

Supplies:
- Susan Bates Pom Pom Maker
- Sharp Sissors
- Bit yarn
Making Pom Poms with the Susan Bates Pom Pom Maker:
Starting time y'all will need to gather the materials that are listed above. For this tutorial I am using some scraps of Super Saver Ombre and Red Centre Soft. Any weight and type of yarn will work.
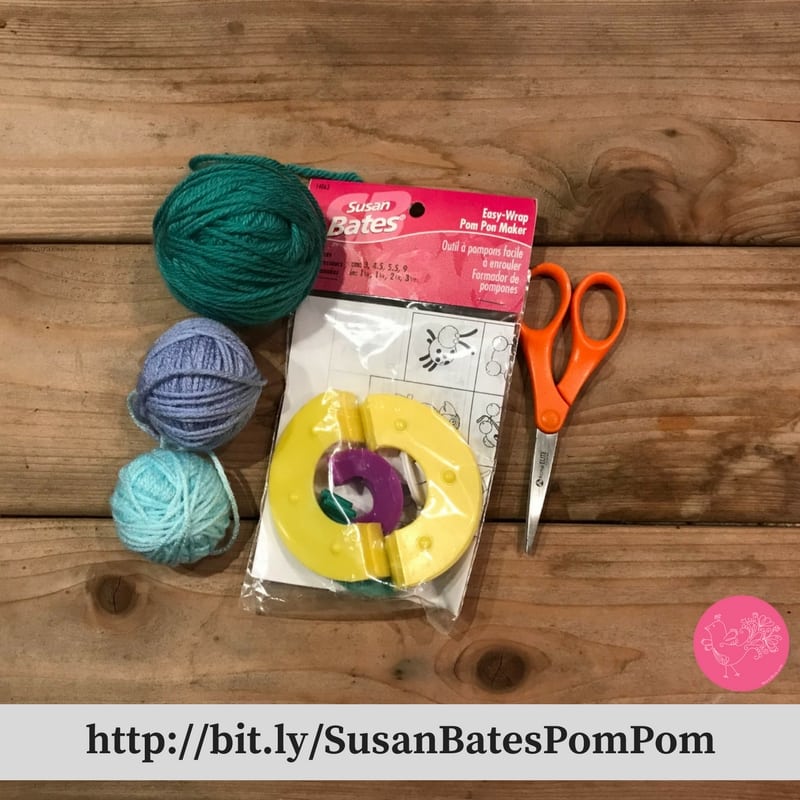
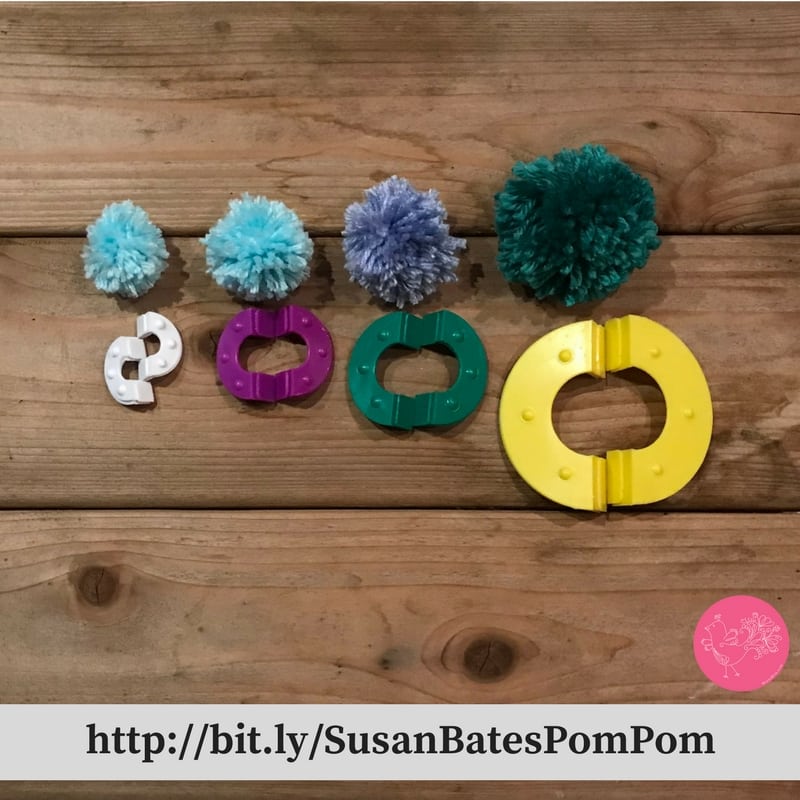
Make sure to accept the the pom pom makers out of the parcel, at that place are 4 different sizes included. In the parcel you will find a sheet that will requite y'all some ideas on what to do with your pom poms. In that location are a bunch of cute animals to try making.
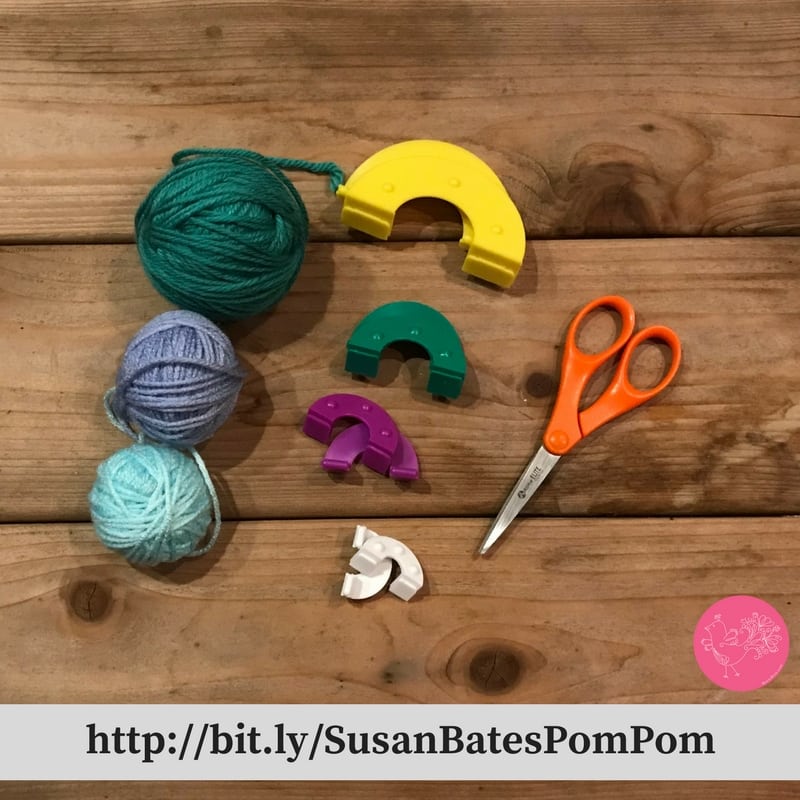
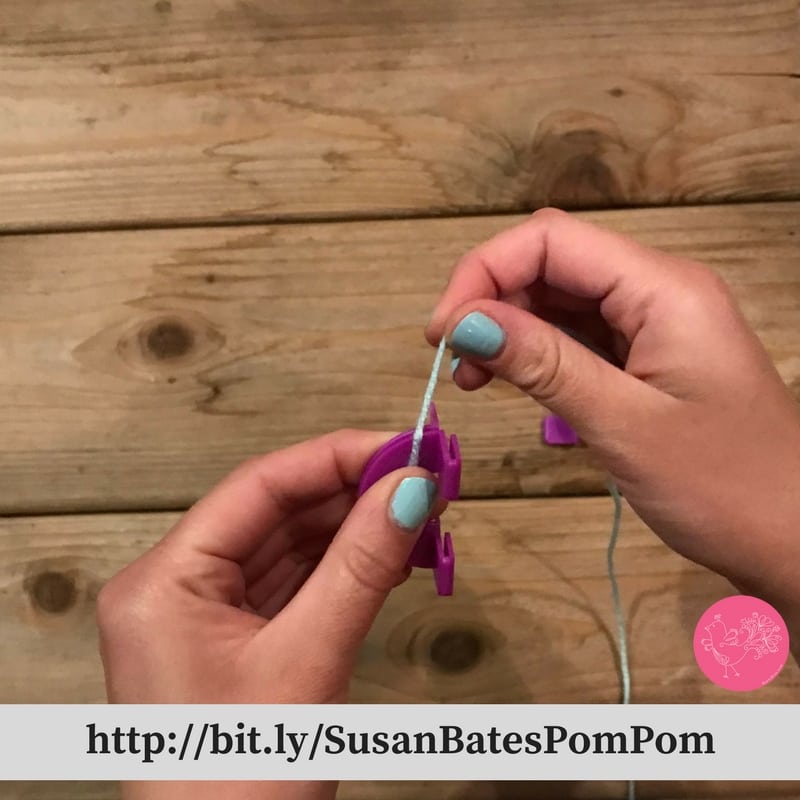
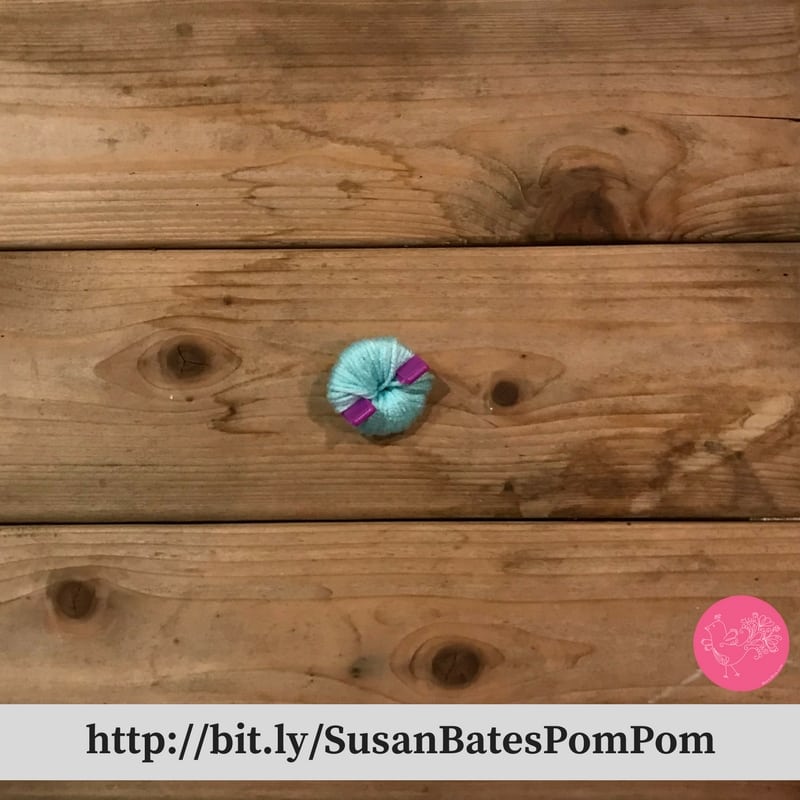
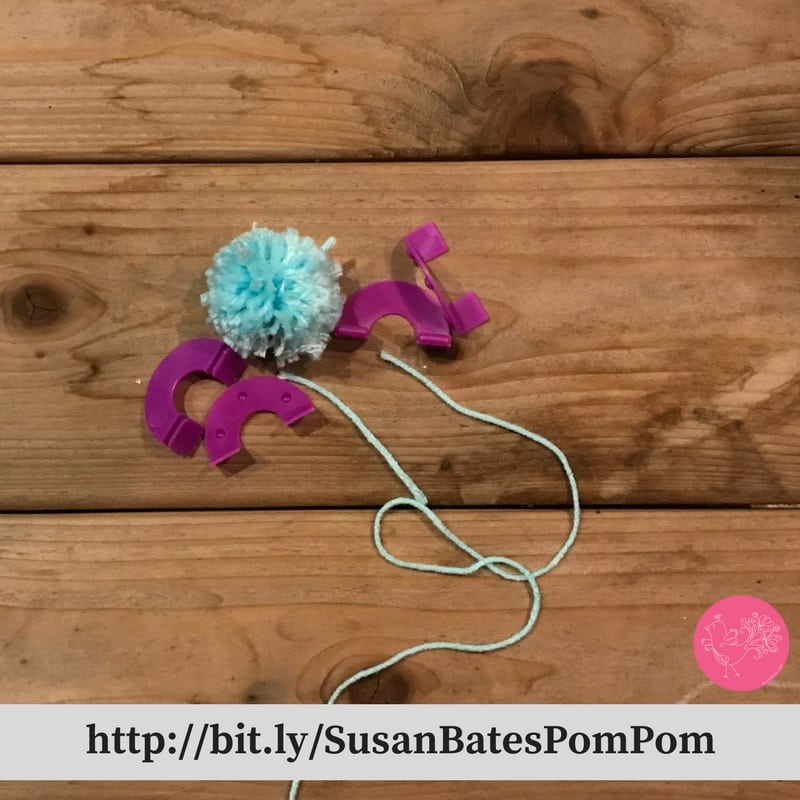
I have chosen to use the purple size. Select the size that you lot need for your projection. I find that the smaller pom poms are easier to command and make only love the look of the big ones also. In your package yous will detect ii 'C' shaped pieces for each color. Each slice has two parts set together. You will have to have them autonomously. Putting one of the flat sides and one of the sides with bumps together you are ready to become started. The bumps put confronting the flat side will give you the space for cutting later. 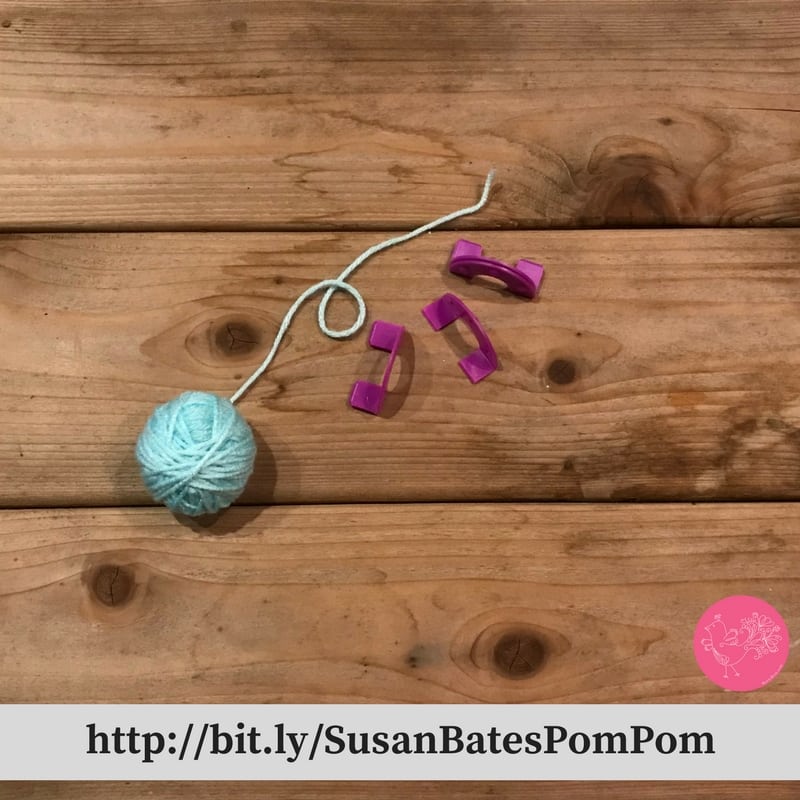
Using your thumb you lot get-go off past holding the start of the yarn to the plastic 'C'. Wrap your yarn around the tail a few times to hold information technology in place, and so you won't need to agree information technology anymore.
You lot will continue to wrap effectually the 'C' until you have it filled equally much as yous like. The more you lot wrap the fuller your pom pom will be. As you work you can make full the within curvation simply brand sure you don't overfill information technology. At the nearly information technology should be flush with the feet of the 'C'. If you fill it as well much you won't be able to bring together the two halves together.
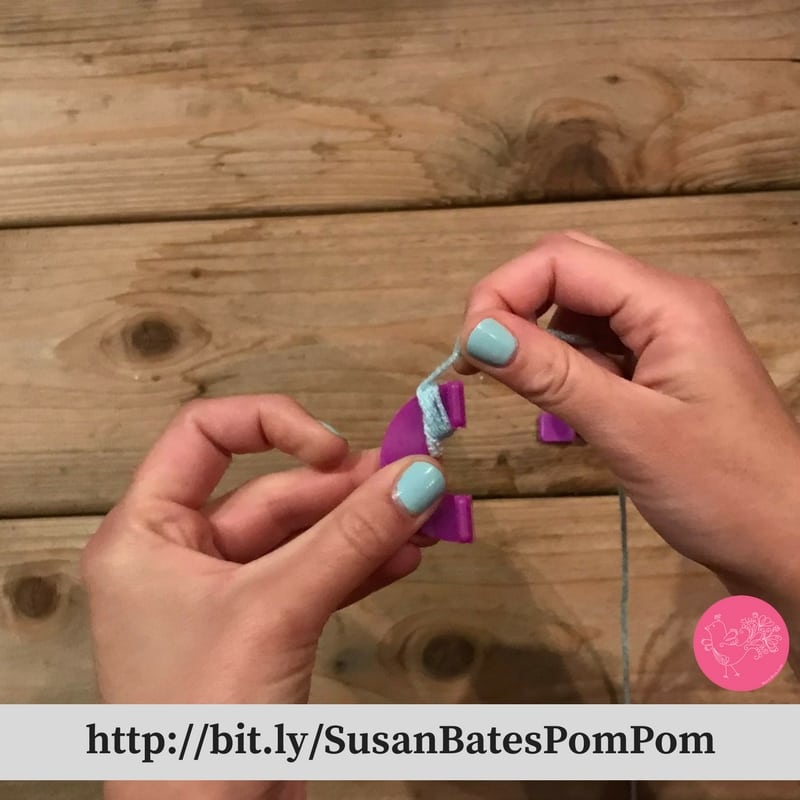
This is an example of how total I similar to make my pom poms. Yous decide how you like yours.
Once you have finished filling the outset half y'all tin can snip the yarn and do the same steps with the other half. Once you have both sides full you lot will need to put them together.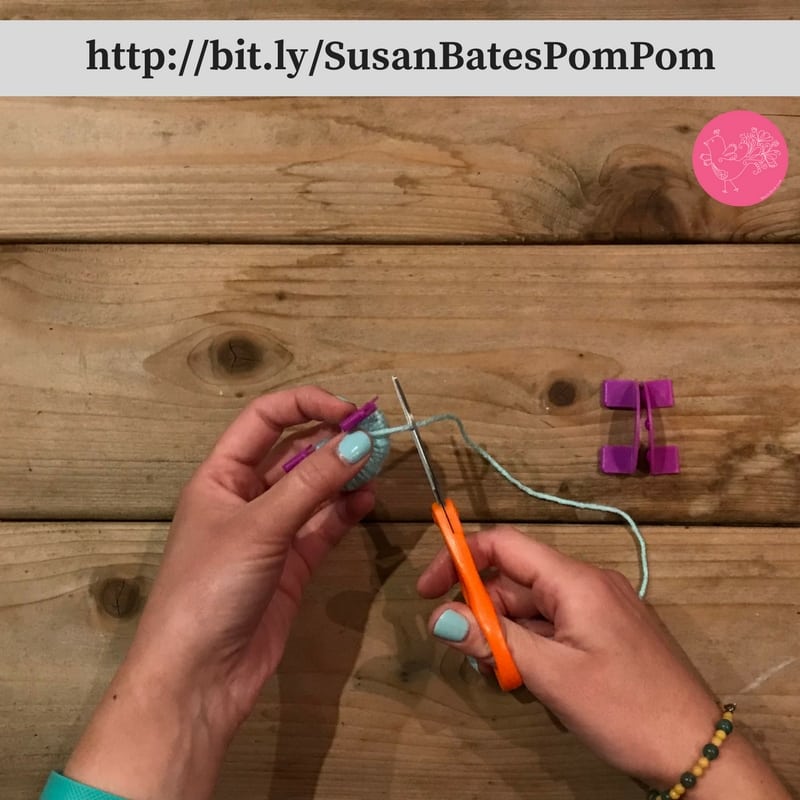
In social club to put together the two halves y'all will need to put the feet of one one-half and slip it into the open up space on the other slice. Sometimes it can be a footling catchy, continue working them until they get together. My tip is to piece of work on i side and so the other. It helps make information technology easier.
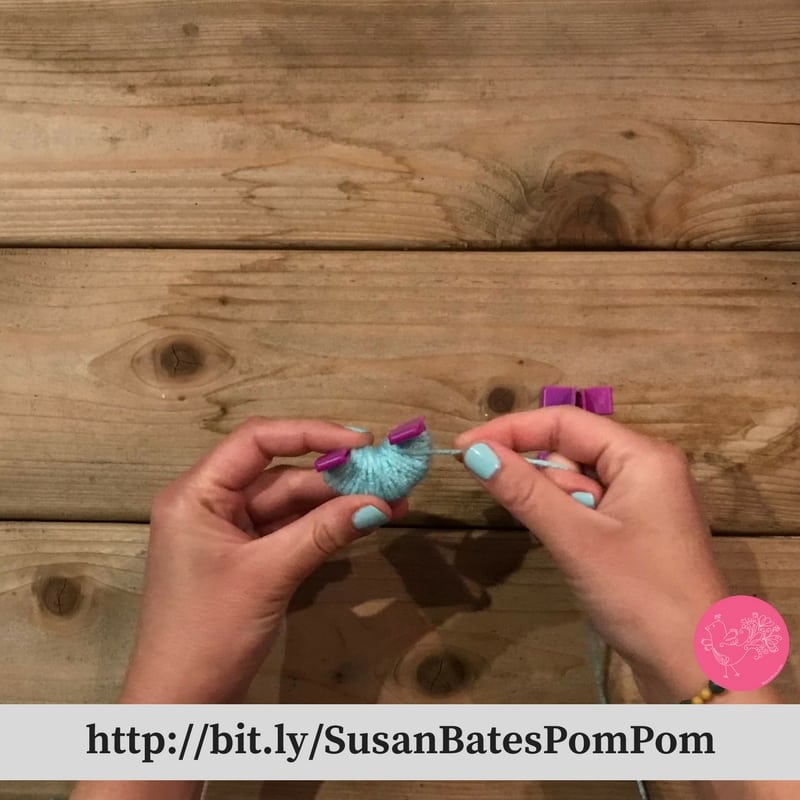
Now it is time to start making the fluff of the pom pom. In the well that was created past putting a flat side and bumpy side together apply your sharp pointed scissors to cut along the ridge.
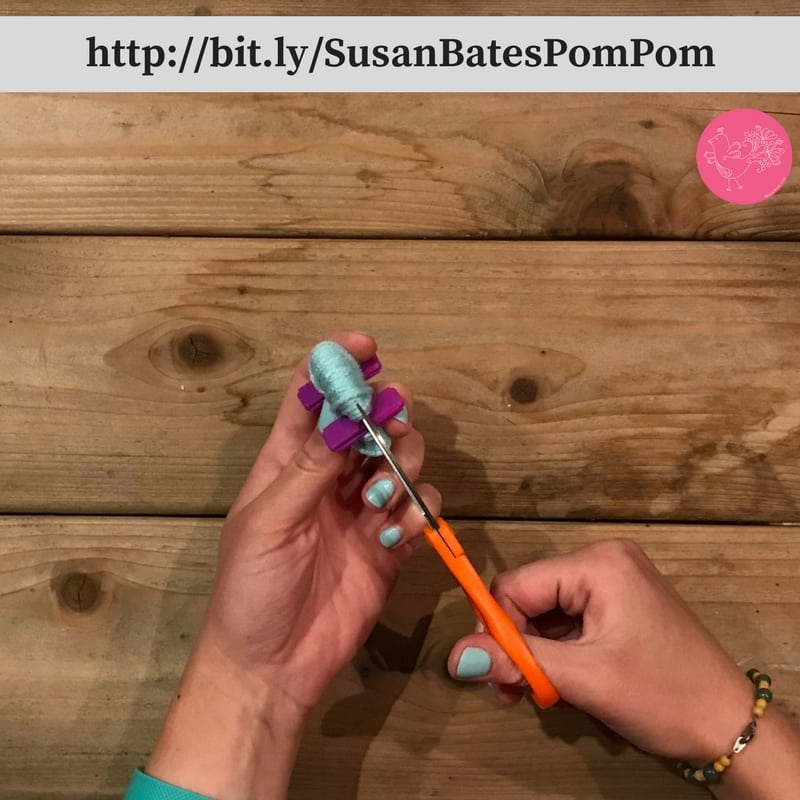
Go along to cut across both sides of the pom pom maker. Once you are finished cutting y'all will start to see the traditional pom pom shape.
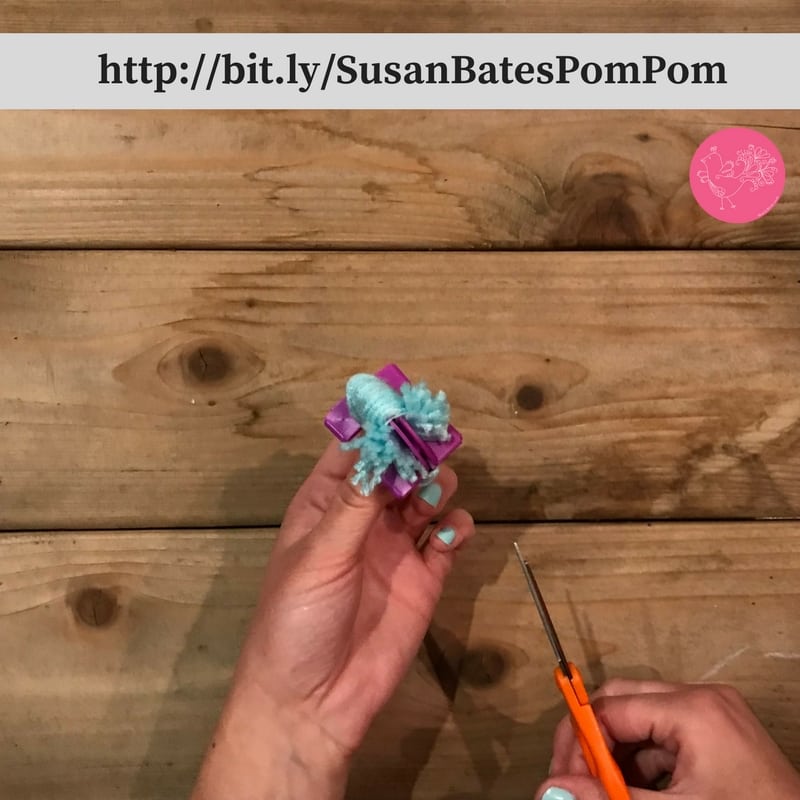
Using another slice of yarn, of the aforementioned color as your pom pom, tie a square knot around the cut pieces in the well.
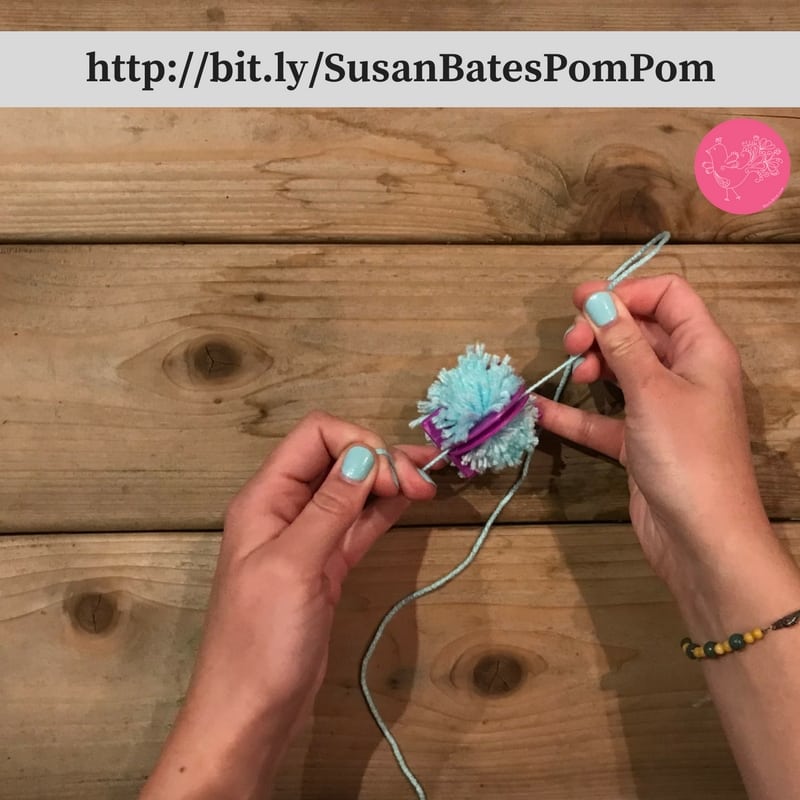
After securing your cut pieces with a knot you lot volition then take apart the pom pom maker to release the pom pom.

You may need to trim the sides of the pom pom giving it a round shape.
In your pom pom maker kit from Susan Bates y'all will have four different sizes. Select the i that fits best with the project that you are working on. Try adding different colors together. Wrap with one color and so some other on the other half and test out all of the variations you can come up with. Have fun making pom poms for your next project.
Likewise on the Weblog:
- Yarn Thing Podcast
- How to Brand Yarn Bobbins
- Big Comfy Sweater Video Tutorial

How To Use Susan Bates Pom Pom Maker,
Source: https://marlybird.com/making-pom-poms-with-the-susan-bates-pom-pom-maker/
Posted by: allenthwary.blogspot.com
0 Response to "How To Use Susan Bates Pom Pom Maker"
Post a Comment