

When Can I Use My Sourdough Starter
Feeding and Maintaining Your Sourdough Starter
Feeding and Maintaining Your Sourdough Starter
In one case you've successfully created your ain sourdough starter, yous'll want to keep it salubrious with regular feedings. If you bake a lot of sourdough treats you may choose to continue your starter on the counter, at room temperature. While this means feeding it twice a twenty-four hour period, it as well means your starter's ever prepare to go when you are. If you're a more casual sourdough bakery stash your starter in the refrigerator, where you'll demand to feed it only once a calendar week. Read more about feeding options to find one that works for your baking lifestyle.
Yield
nigh 1 i/2 cups (340g to 361g) starter
Instructions
-
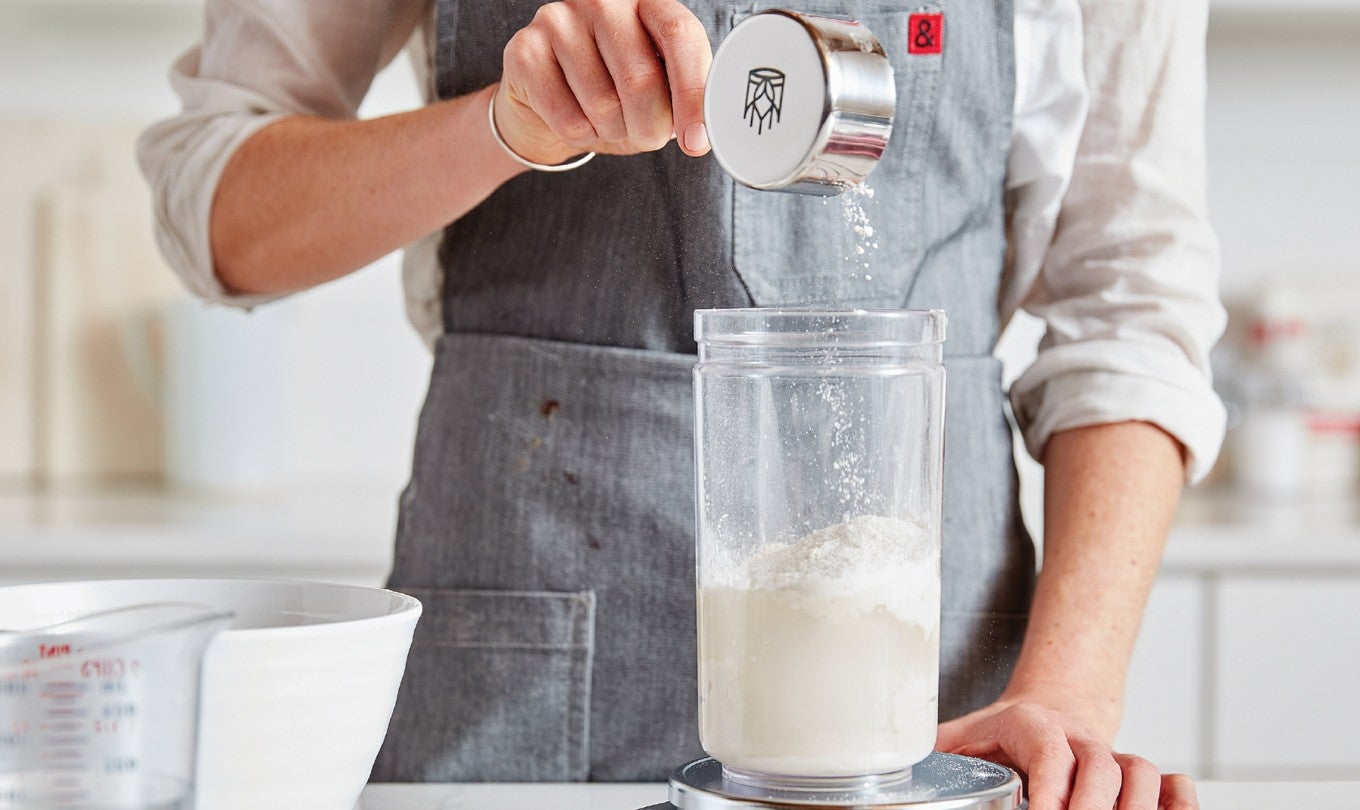
To store your starter at room temperature: Stir the starter thoroughly. Spoon 1/2 cup (113g) starter into a bowl; either discard the remaining starter or use information technology in another recipe (see "tips," below). Add 113g flour and 113g lukewarm water to the 113g starter in the bowl. Mix until smooth, render to its jar or crock, and embrace.
-
Repeat this process every 12 hours, feeding the starter twice a day. Remove starter to broil with every bit soon equally information technology'south expanded and bubbly, so feed the remaining starter immediately; revert to your normal 12-hr schedule for subsequent feedings.
-
To store your starter in the refrigerator:Take the starter out of the refrigerator; there may be a bit of liquid on pinnacle. Either drain this off or stir information technology in, your choice; it's simply a byproduct of the fermenting yeast.
-
Spoon one/2 cup (113g) starter into a bowl; either discard the remaining starter, or use it in another recipe (see "tips," beneath). Add the flour and lukewarm water to the 113g starter in the bowl. Mix until smooth and embrace.
-
Allow the starter to residual at room temperature (about 70°F) for at least two hours; this gives the yeast a chance to warm upwards and get feeding. After well-nigh 2 hours, replace the starter in its storage container and air-condition.
-
To maintain your starter's health (and for best baking results), repeat this process about one time a week.
-
To ready your refrigerated starter for blistering: Take the starter out of the fridge, discard (or set aside) all but 1/2 cup (113g) and feed that 113g as usual with equal parts (113g each) flour and h2o. Cover the starter and let information technology rest at room temperature. Depending on its health and how recently you'd fed information technology, it will start to bubble and expand rapidly, or may take up to 12 hours to show signs of life.
-
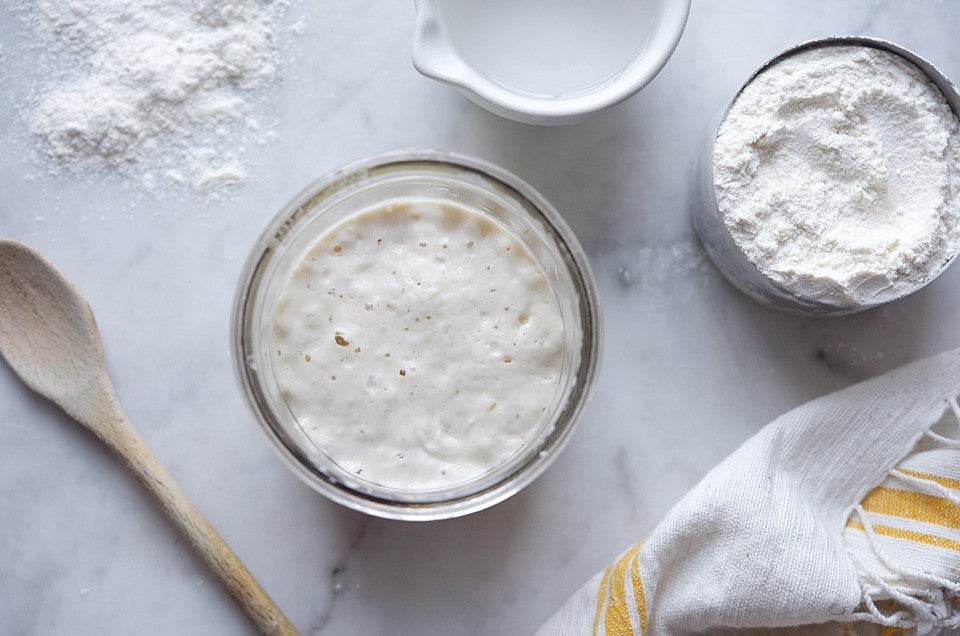
Feed the starter every 12 hours until yous encounter it double or triple in volume within 6 to eight hours; this means it's fix to bake with.
-
For what you judge will be the final feeding prior to baking, add together plenty flour and h2o to use in your recipe, with 1/two cup (113g) left over to feed and maintain the starter for the adjacent fourth dimension you broil. For instance, if your recipe calls for one loving cup (227g) starter, add together 113g each h2o and flour. If your recipe calls for 2 cups (454g) starter, add 227g each h2o and flour.
-
Once the starter is "ripe" (prepare to use), spoon out what yous need for the recipe and fix it aside with the recipe'south other ingredients. Feed the remaining 1/2 cup (113g) starter as usual, with equal parts (113g each) flour and water. Mix until smooth and let the starter rest for about ii hours at room temperature before stowing it dorsum in the refrigerator.
Tips from our Bakers
-
Use "discard" starter to make pancakes, waffles, cake, pizza, flatbread, or some other treat; for inspiration, see our sourdough discard recipe collection.
-
Sourdough baking is equally much art as scientific discipline. This method for maintaining sourdough starter is just one of many yous might cull to follow. It may not match what's written in your favorite sourdough cookbook, or what'southward shown in that video you saw online. And that's OK: If you have a process yous successfully follow regularly, then stick with information technology. Or endeavor this i and compare. All expert.
-
Looking for tips, techniques, and all kinds of great data virtually sourdough baking? Find what you lot need in our sourdough baking guide.
Recipes
Recommended Recipes

When Can I Use My Sourdough Starter,
Source: https://www.kingarthurbaking.com/recipes/feeding-and-maintaining-your-sourdough-starter-recipe
Posted by: allenthwary.blogspot.com
0 Response to "When Can I Use My Sourdough Starter"
Post a Comment